The Right Way to Clean Your Grinder (And Why It Matters)
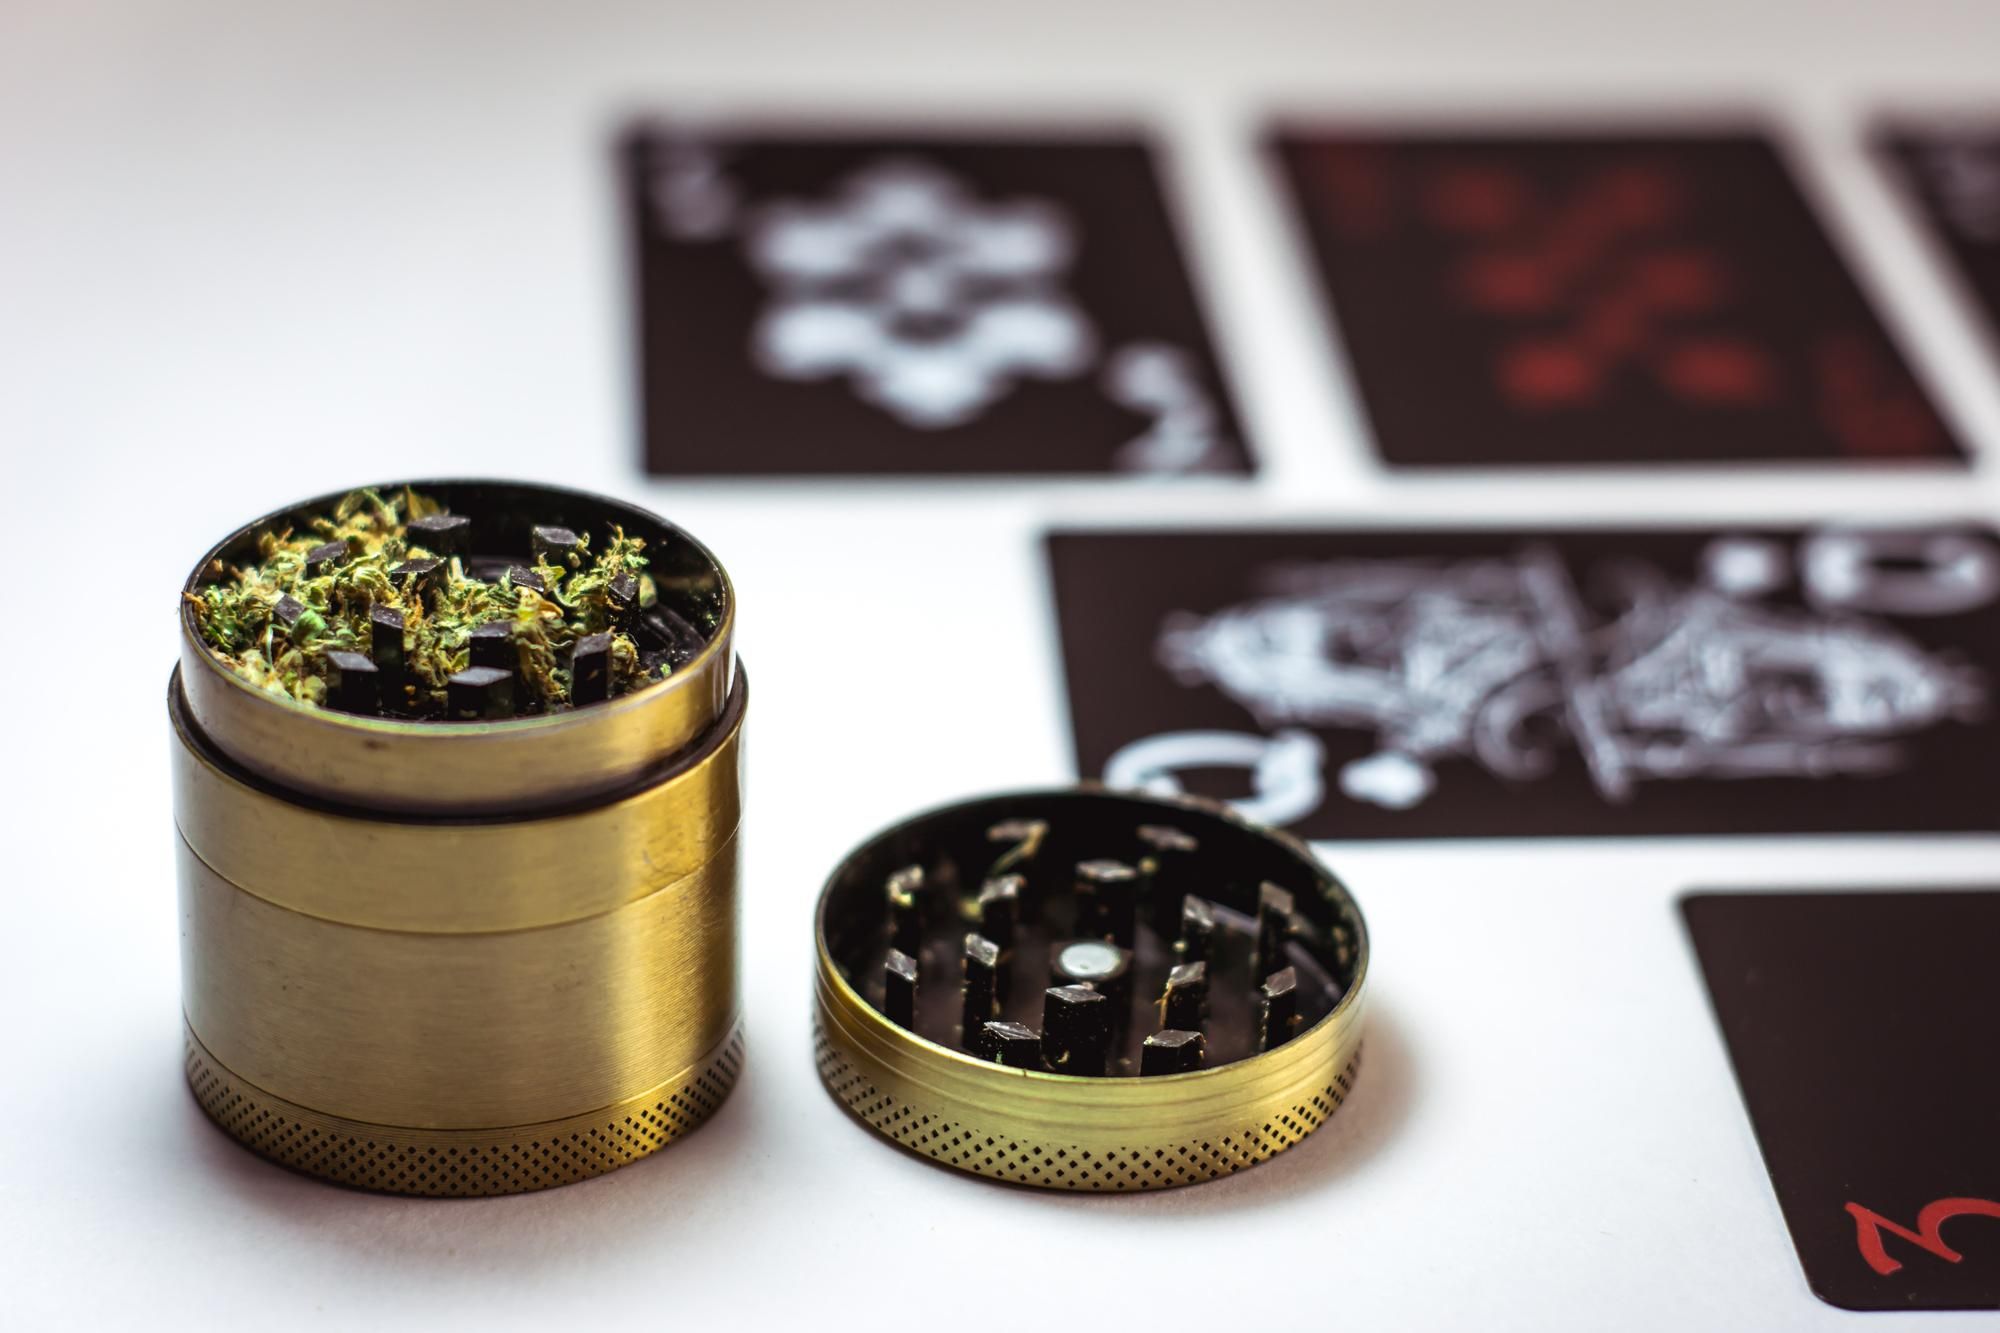
Anyone who’s been rolling joints or packing bowls for years knows one thing: a grinder isn’t just an accessory; it’s a lifeline. A solid, well-maintained grinder means smooth, even sessions with flower that actually tastes like it’s supposed to. But here’s the truth most of us learn the hard way—if you don’t clean it, your grinder will eventually jam, gunk up, and even start robbing you of terpenes. And that’s the last thing you want.
After years of grinding, scraping, and soaking, I can tell you that keeping your grinder clean doesn’t just make it look good—it keeps your sessions consistent, flavorful, and efficient.
Why Cleaning Really Matters
A dirty grinder is a pain. The twist gets sticky, the teeth don’t shred as smoothly, and the kief catcher turns into a clogged screen of wasted potential. I’ve seen grinders so caked up that people had to use pliers to twist them open. Not only is that frustrating, but you’re also losing out on the fluffy grind that makes for an even burn.
And then there’s the flavor. Old resin clinging to the teeth can throw off the profile of whatever fresh strain you’re grinding. If you’re dropping money on premium flower, why let it taste like last week’s leftovers? A clean grinder means the terpenes shine, just the way the grower intended.
What You’ll Need
Cleaning doesn’t take much. Here’s my go-to kit:
- A stiff brush (an old toothbrush works great)
- Isopropyl alcohol (90% or higher)
- Cotton swabs
- A toothpick or scraper (most grinders come with one)
- Warm water
- A freezer (optional, but handy)
Metal grinders handle alcohol just fine. Plastic ones? Skip the alcohol—it can damage them. Stick with warm water and dish soap.
Step 1: Break It Down
Take your grinder apart piece by piece. Lid, teeth chamber, collection chamber, and kief catcher if you’ve got one. This is where you’ll find resin hiding in every little groove.
Step 2: Freeze and Scrape
If your grinder is metal, toss it in the freezer for about 30 minutes. Resin hardens up and pops right off when frozen. Then grab your scraper or toothpick and chip away the stuck bits. It’s oddly satisfying, and you’ll probably collect enough to sprinkle into your next bowl.
Step 3: Soak and Scrub
Drop the metal pieces into a small bowl of isopropyl alcohol and let them sit for 20–30 minutes. The alcohol breaks down all that sticky buildup. After soaking, hit the pieces with your toothbrush or cotton swabs to clear out whatever’s left.
Plastic grinders? Just scrub with warm, soapy water. Alcohol can warp or crack them.
Step 4: Rinse and Dry
Rinse each part thoroughly with warm water. Alcohol residue isn’t something you want mixing with your bud. Make sure everything dries completely before you snap it back together—moisture is mold’s best friend, and that’s a session killer.
Keep It Fresh
A full clean every couple weeks (or monthly if you’re light on use) keeps things smooth. In between, I like to brush out the screen after every grind and tap the chambers over a tray to knock out leftovers. Little habits like that make deep cleans faster and less messy.
A grinder isn’t disposable—it’s part of the ritual. Clean it, and it’ll reward you with better flavor, smoother burns, and a stash of kief that’s actually worth saving. Ignore it, and you’ll be fighting sticky twists and off-tasting bowls. Trust me—take care of your grinder, and it’ll take care of you.
Related Read: Top Mistakes to Avoid When Using a Grinder (and How to Fix Them)